
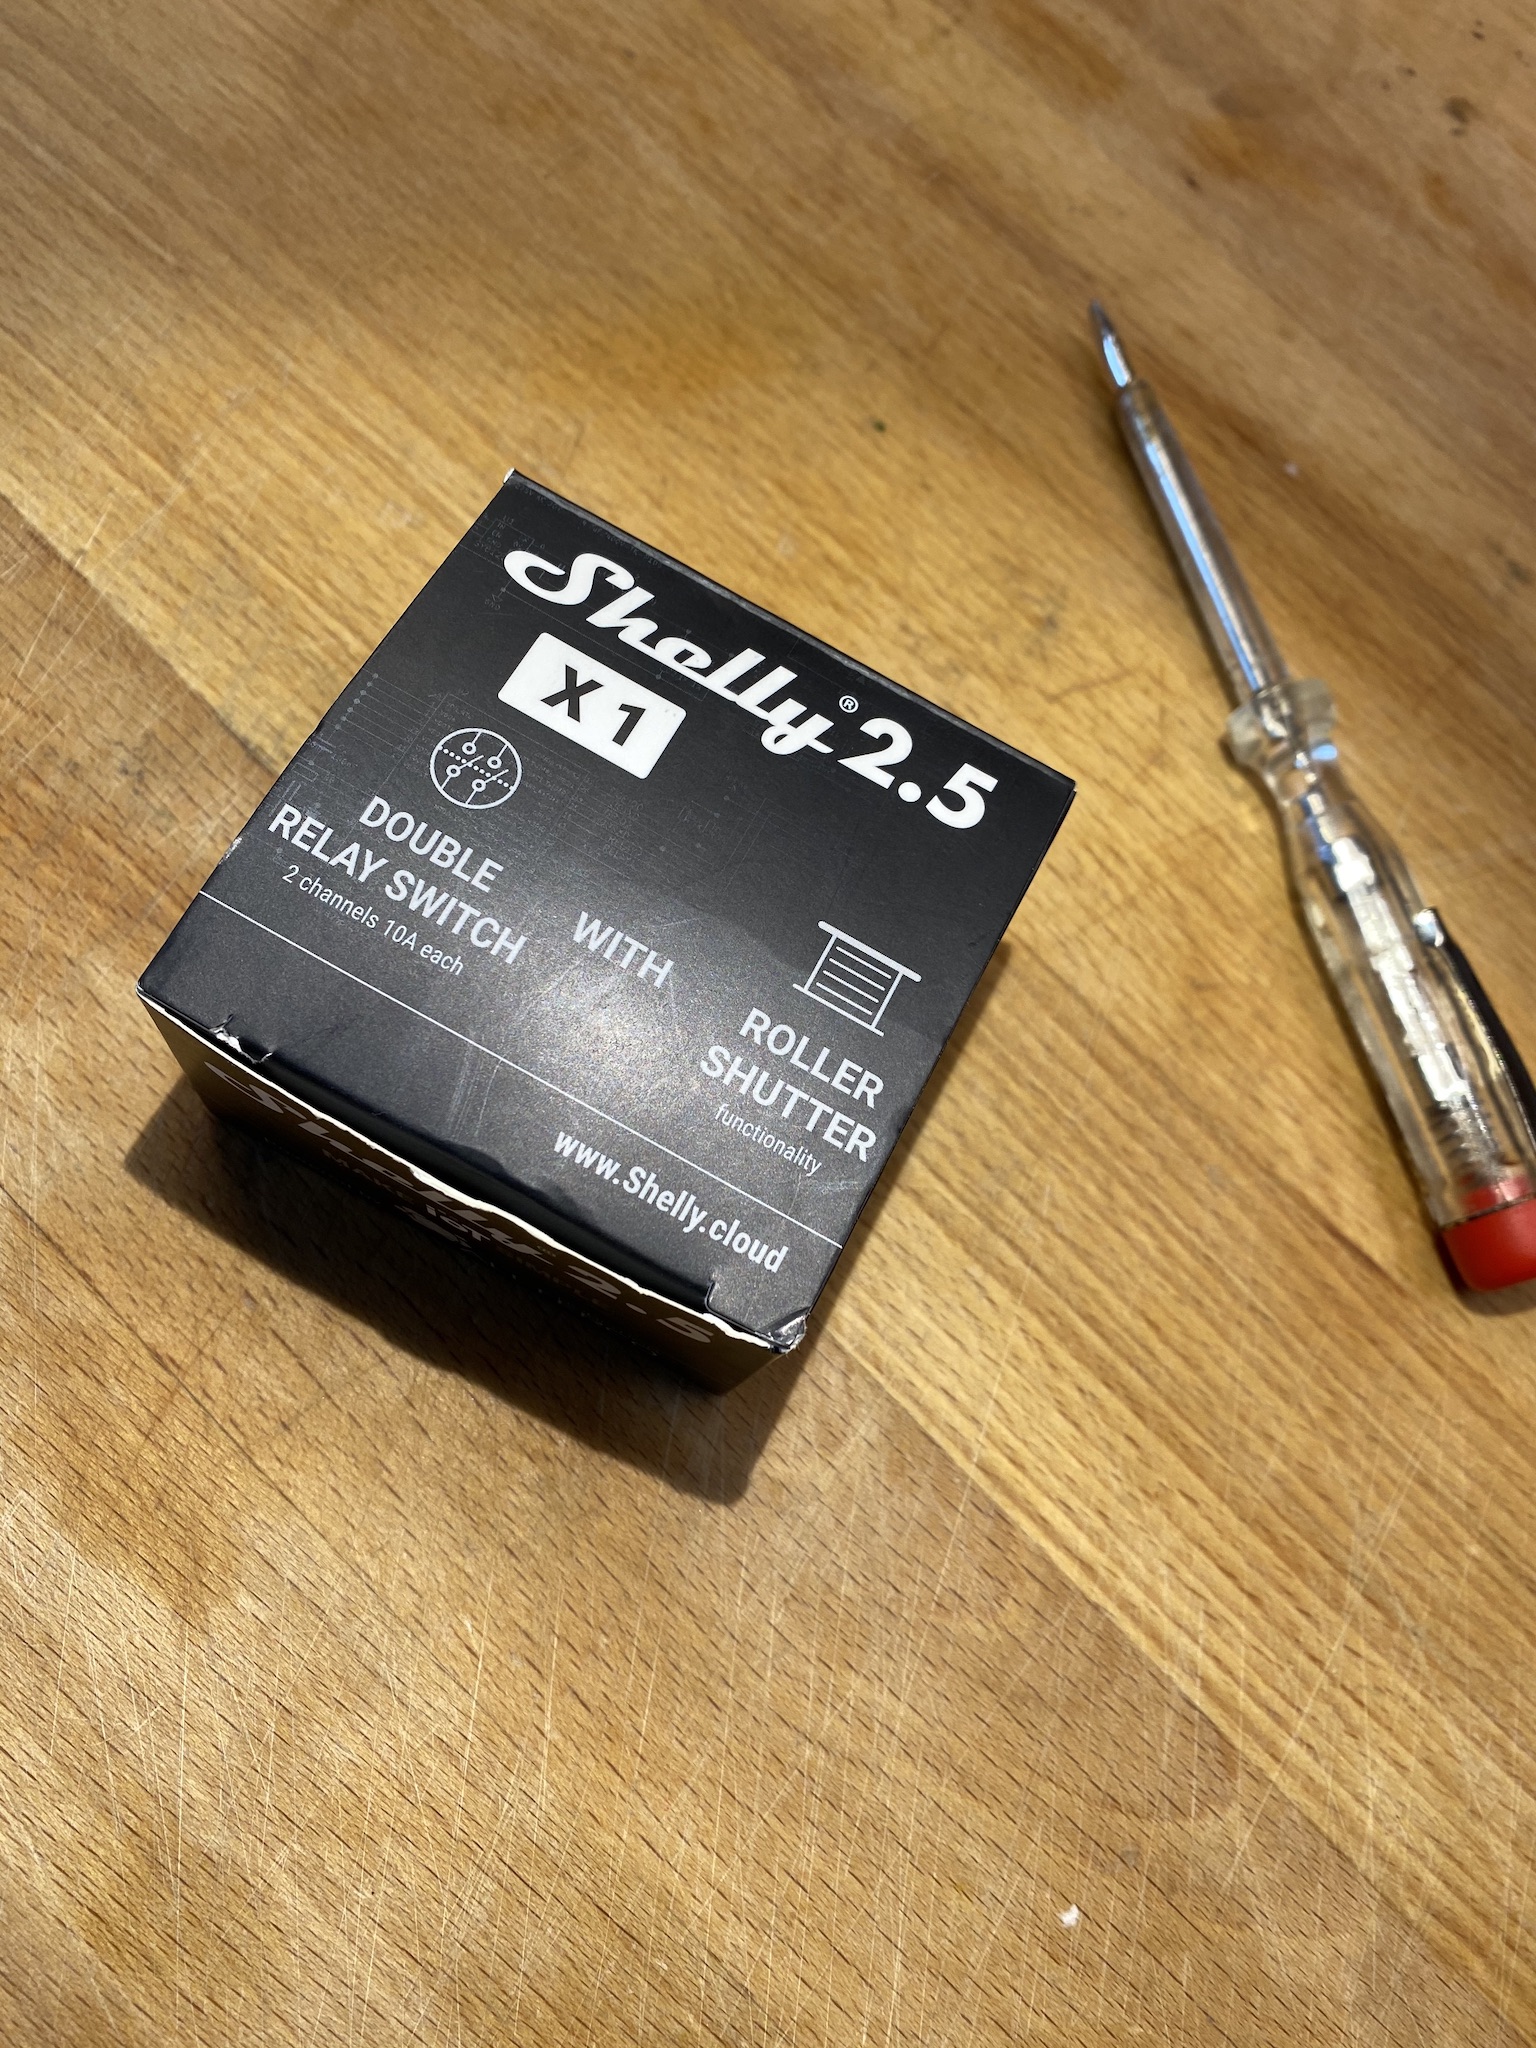
A guided DIY procedure to get a 220V powered smart switch with 2 independent dry contacts.
My issue was around the lack of smart switches on the market, powered by the common 110V/220V and able to simply open or close a contact. Most of the smart switches provide the ability to control power at the output, so powering on and off a common device, but almost none can simply control the open/close status, working with the main 220V. This kind of contact is called “dry contact” since the two pins of the contact are at the same voltage level.
Someone already made some modification to the well-known Itead / Sonoff Basic switch to work in dry mode, but this smart switch has an only relay onboard.
My idea was modifying a Shelly 2.5 smart switch which has 2 controllable relays in a small package form. As a plus the Shelly 2.5 has an onboard ability to measure its internal temperature, very helpful when installed into common wall switch small boxes.
I have reverse-engineered a Shelly 2.5 and this is my DIY guide.
Do it under your own responsibility, take care, high voltage is dangerous! I cannot guarantee any positive results, anyway.
Let’s start tearing down the Shelly. To achieve this you need a small screwdriver to lever on the lower part of the case.
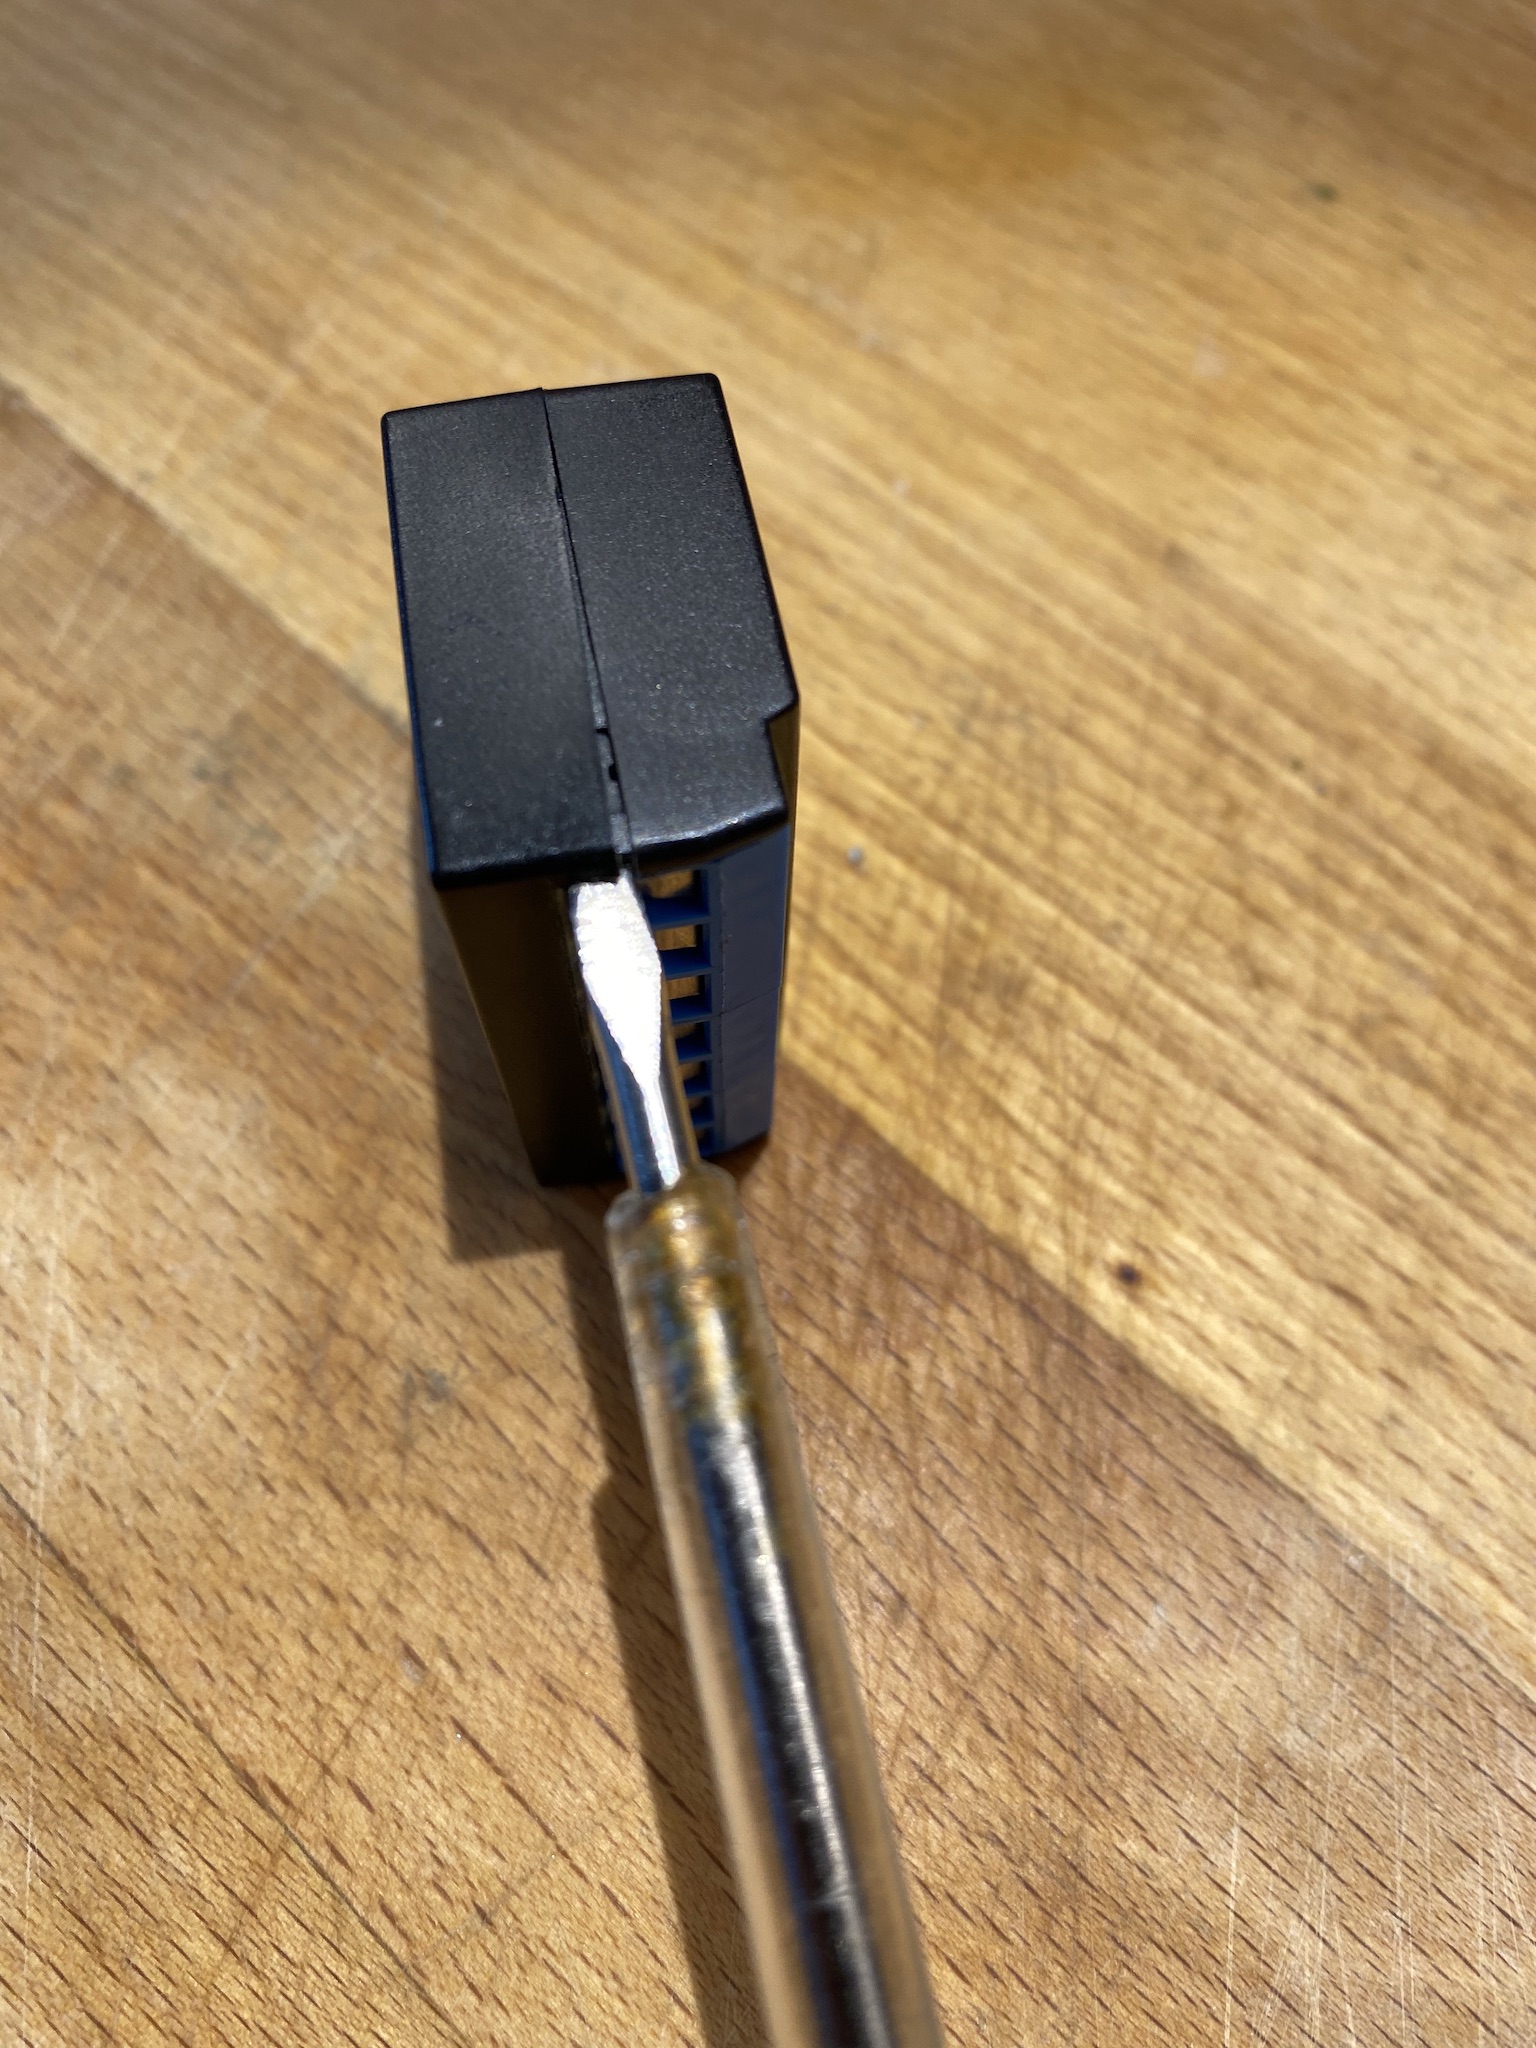
Then moving the screwdriver around the perimeter you will be able to remove the lower cover.
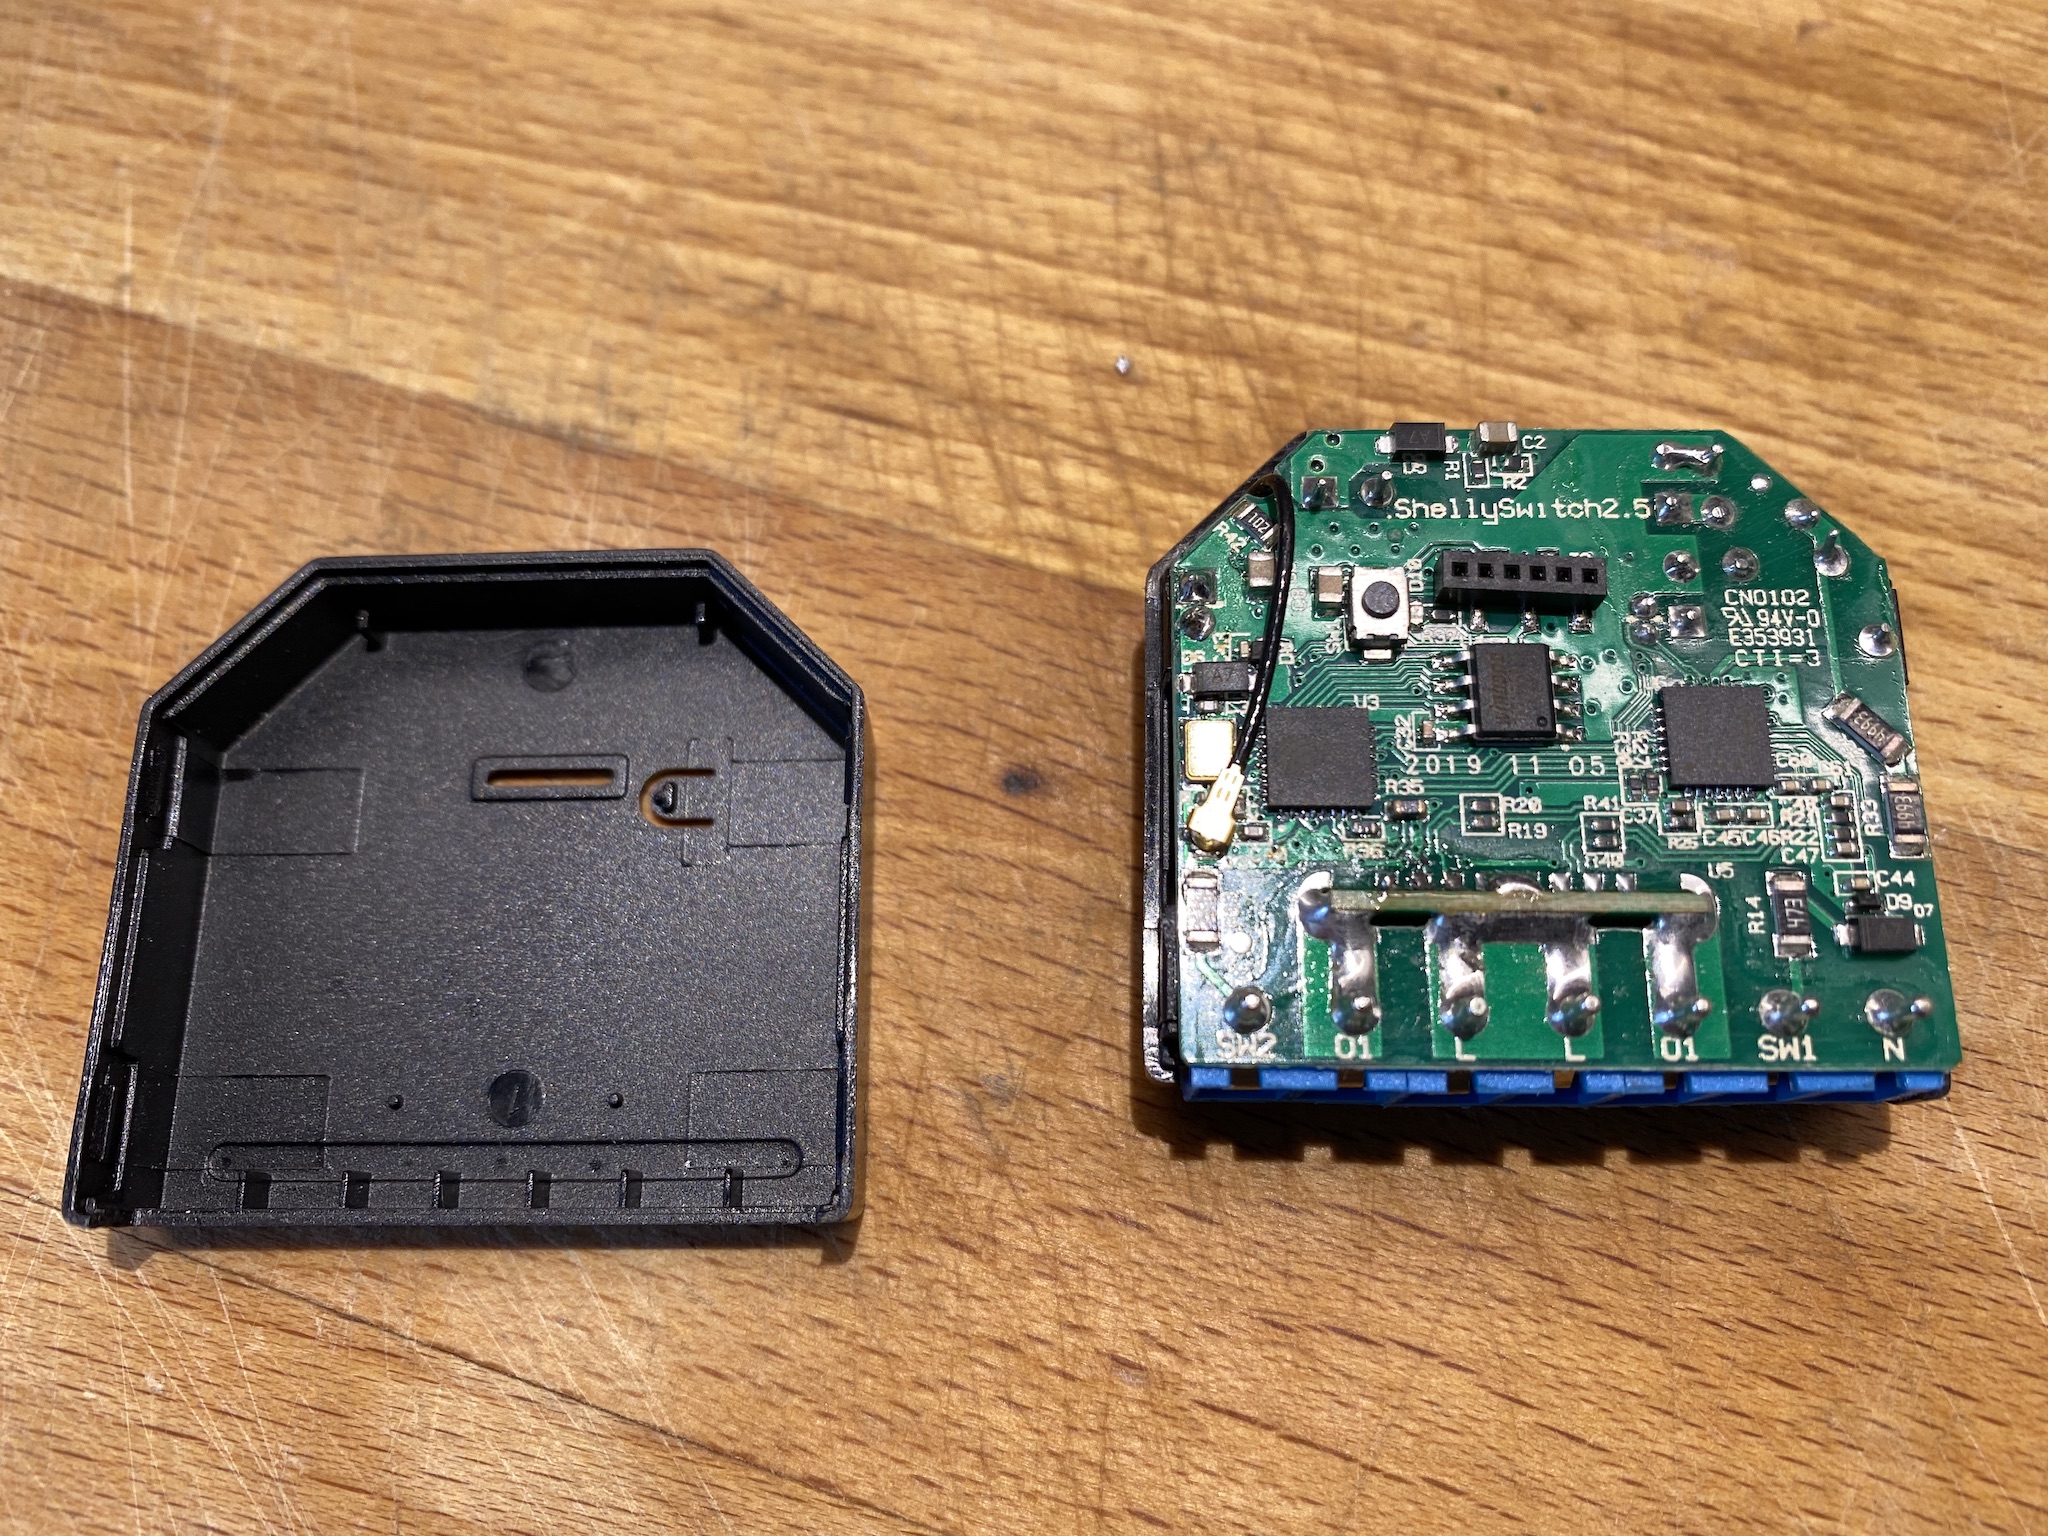
Pay attention! The other part of the cover hosts the wi-fi antenna and its cable! Disconnect the cable from the board then remove the cover.
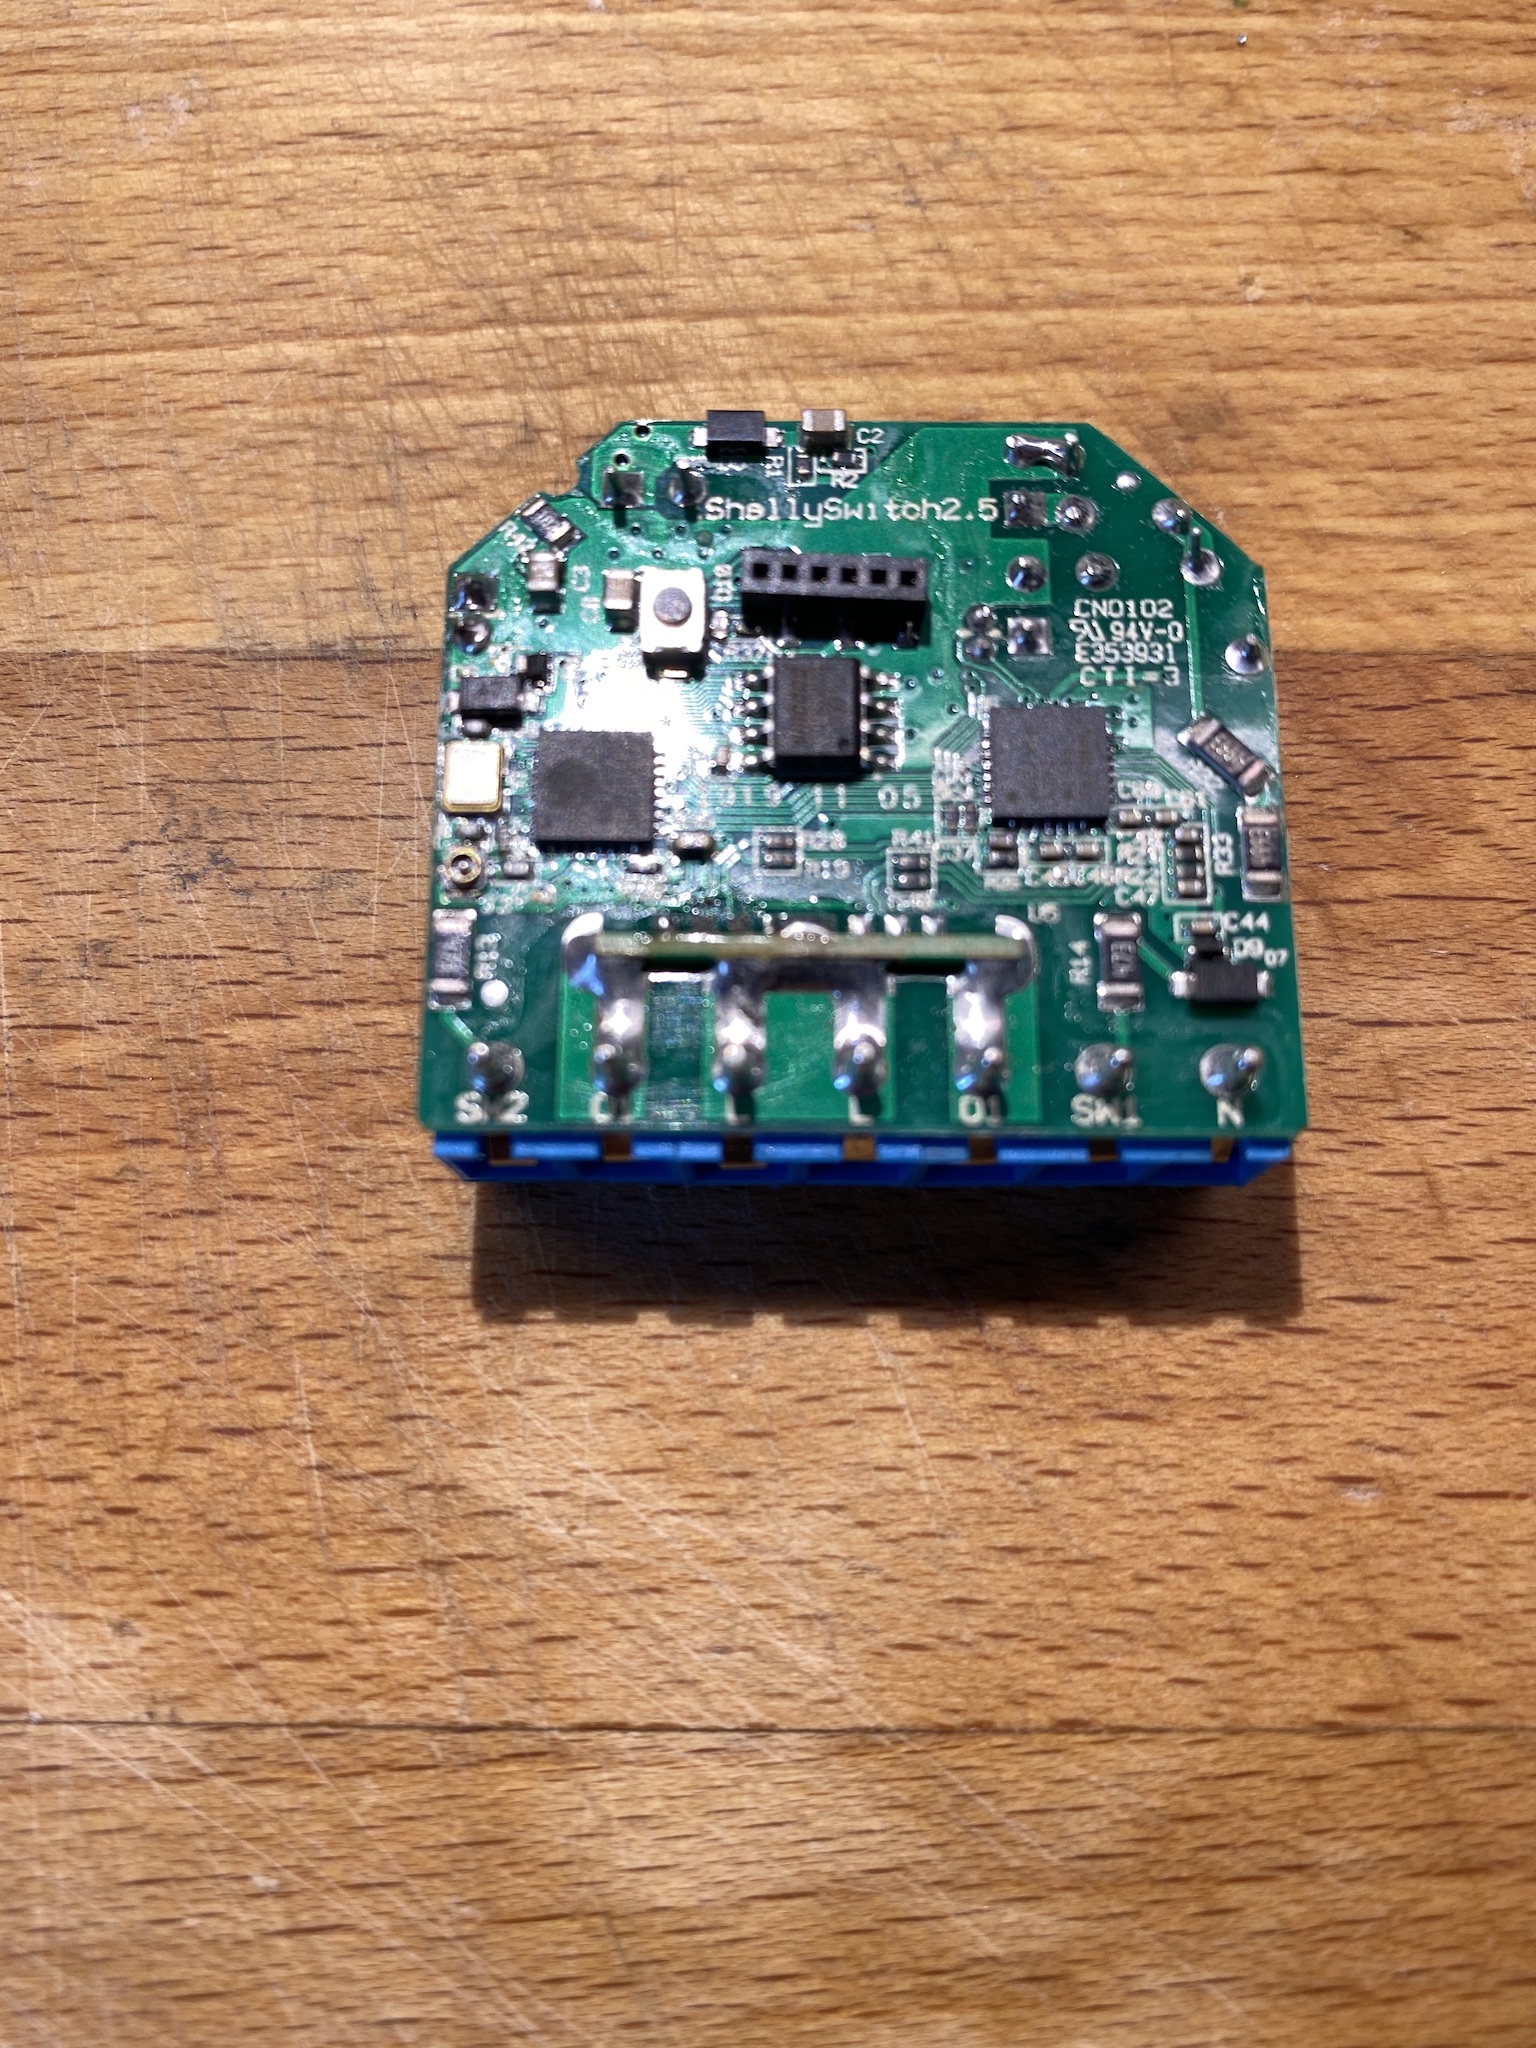
At this point we need to start desoldering some parts from the board. Have a look at the board itself and you’ll see that the two relays are soldered to a piggyback board which is then soldered to to main one. To reach this small board with the two relays, we need first to remove the screws terminal block.